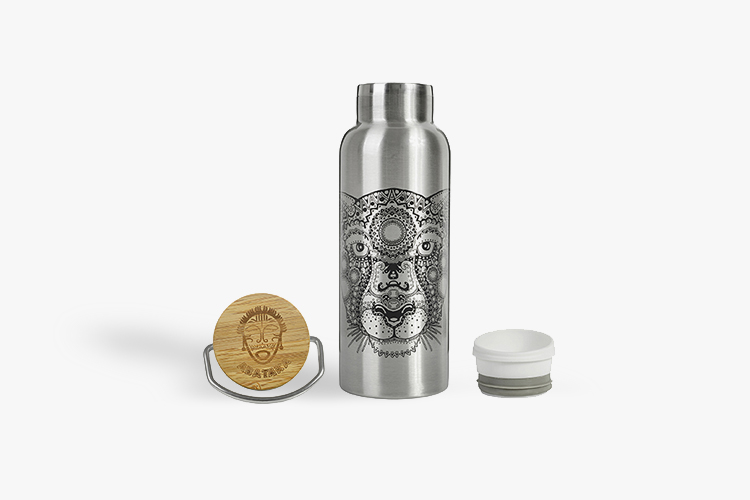
If there's one thing that's true in ecommerce, it's that the perceived value of your products is judged almost entirely by the quality of your product photography. A blurry, poorly lit or inconsistently cropped photo makes even a great product look cheap, while clean, well-lit product photography builds trust before a customer has ever held the item in their hands.
The trouble is that when you're just starting out, getting professional product photography done can feel like a luxury you can't afford. As a working London product photography studio, we understand that more than most — and as a business that works with small brands and sole traders every day, we also know the budget isn't always there for a studio shoot. If that's you, have you considered the DIY approach to product photography? It's a lot more achievable than it looks, and this guide walks through exactly how we'd approach it.
What Is Product Photography?
Product photography is the process of photographing items for ecommerce, catalogues, marketplaces and advertising so a customer can see exactly what they're buying. It's usually shot against a clean, neutral background with carefully controlled lighting, so that colour, shape, scale and texture all come through accurately — no colour casts, no distracting shadows, no guesswork for the buyer. Good product photography answers the questions a shopper would ask if the item were in front of them.
You don't take a photograph, you make it.
There are lots of techniques for shooting successful product photography, but the window-light setup below is the simplest and cheapest way to get consistent, professional-looking results at home. Gear is at the heart of photography and can be exciting, but it's usually the part that confuses people most. You don't need to spend a large chunk of your budget on high-tech equipment — a £1 piece of white card does the same lighting job as plenty of gadgets costing far more. You can put this whole window-light setup together for £20 or less if you already own a camera.
Equipment You'll Need for DIY Product Photography
You only need a handful of things to get started:
- Camera. You don't need a professional DSLR. Start with whatever you already own and see what results you get — a modern smartphone camera can do a very respectable job. It's a common myth that the camera is what "takes" a good picture; in reality the camera is only one piece of the whole. A finished product photograph is made up of lighting, exposure, styling and post-production working together.
- Tripod. Because you'll be shooting at a fairly small aperture (more on that below), a tripod keeps your shots sharp and consistent from frame to frame. Don't worry if you don't have one — you can shoot handheld, just brace yourself and steady your breathing before each shot.
- White background. A roll of white poster/backdrop card gives you the clean, seamless backdrop that's standard across almost all product photography. A poster roll of white card from Amazon costs around £5 and will last for dozens of shoots.
- Tape or clamps. Depending on your table, use tape or bulldog clips to secure the background so it curves smoothly with no crease where it meets the surface. You can also fix it to the edge of a large plastic storage container flipped onto its side to create an instant sweep.
- A white reflector card. An A4 sheet of white card, bent in half so it stands up on its own, bounces light back into the shadow side of your product — see the lighting section below for how to use it.
- A bright room. A room with large windows is one of the key requirements for natural-light product photography — the bigger the window, the softer and more even your light source will be.
Setting Up Your Product Photography Space
Position your table as close as possible to the window, at roughly 90 degrees to it, so the light rakes across your set from the side rather than hitting it head-on. Avoid letting direct, hard sunlight fall on your set — it creates harsh shadows and blown highlights that look bad on almost any product. An overcast day or a diffused window (net curtain or tracing paper taped over the glass) gives you the soft, even light that product photography relies on. Place your product in the centre of the backdrop and leave enough room beside it to slot your white reflector card in later.
Camera Settings for Product Photography
- Set your white balance (WB) to Auto, or to the matching preset (Daylight/Cloudy) if your light source is inconsistent.
- Turn off your flash — direct on-camera flash flattens detail and creates ugly hotspots on shiny or reflective products.
- Set your image quality to the largest JPG (or RAW, if your camera supports it) for maximum retouching flexibility later.
- Set your ISO to 100. The higher the ISO, the more digital noise creeps into your image — and noise is one of the fastest ways to make product photography look amateur.
- Use Aperture Priority mode if your camera has it, and set the f-stop to the highest number available — f/11 or higher. Aperture Priority will automatically adjust the shutter speed for you. A wide aperture like f/2.8 or f/4.5 narrows your depth of field and leaves parts of the product out of focus; a small aperture like f/11 keeps your entire product sharp from front to back. If your camera doesn't have Aperture Priority, Auto Exposure is a reasonable substitute.
- If you have an exposure compensation dial, you'll likely need to dial in +1 or +1½ stops against a bright white background, which otherwise reads as grey to the camera's metering. On a phone, simply tap the area of the screen you want correctly exposed.
- Zoom in optically rather than digitally — digital zoom just crops and upscales the image, lowering quality. Avoid a wide-angle lens or wide-angle zoom setting too, as it will distort your product's proportions.
Lighting and Taking the Shot
With your product centred on the set, position your white reflector card on the shadow side, angled to bounce light back into the darker areas of the product. Experiment with the angle until the shadows fill in evenly — you won't need the reflector at all if you have two window light sources on opposite sides of your shooting table. Once you're happy with the setup, take the shot, then review a few test frames and adjust before committing to a full set of images. Feel free to experiment with angles and reflector positions — your eye for this will improve quickly with practice.
Always upload your images to a computer screen to check them properly — the small screen on the back of a camera is never accurate enough to judge focus, exposure or colour.
Retouching Your Product Photography
Once you have a final frame you're happy with, it's time to retouch it. If the shot was set up correctly, the product should be properly exposed and the background should read as a clean off-white, ready to be lifted to pure white in post-production. From there, crop each image to consistent dimensions across your whole catalogue, resize for web, and export the finished file ready for upload to your store or marketplace listing.
Adobe Photoshop remains one of the best retouching tools for background clean-up, colour correction and spotting, though free tools like GIMP or Photopea can also get the job done for a small catalogue. We don't have space to cover a full retouching workflow here, but keep an eye on our blog for step-by-step tutorials.
Does Every Product Need the Same Approach?
The window-light method above works brilliantly for most straightforward products — homeware, packaging, apparel laid flat, books, cosmetics and the like. Some product categories, however, need a more specialised approach. Highly reflective or macro-scale items such as rings, necklaces and other fine jewellery are notoriously difficult to shoot on a DIY setup, because reflections, focus stacking and colour-accurate metal tones all become critical at close range. If that's the category you're working in, our sister studio has put together an in-depth guide to jewellery photography that covers the lighting, macro and retouching techniques this kind of product demands.
Common Product Photography Mistakes to Avoid
- Shooting under mixed lighting (daylight plus a warm room lamp), which causes colour casts that are hard to correct later.
- Letting the background crease or show a visible horizon line instead of a smooth sweep.
- Using a wide-angle lens or phone setting too close to the product, which distorts its proportions.
- Inconsistent crop, angle or lighting from one product photo to the next, which makes a catalogue look unprofessional even when each individual shot is fine.
- Skipping a proper white balance or colour check, so products don't match their real-world colour on screen — a leading cause of ecommerce returns.
When to Hire a Professional Product Photography Studio
DIY product photography is a great starting point when budget is tight or you're testing a new range, and plenty of small brands run their whole catalogue this way. But as your product range grows, or you're selling on marketplaces with strict image specifications, a professional studio setup — controlled strobe lighting, colour-calibrated cameras and an experienced retouching team — will get you a larger, more consistent catalogue faster and with less trial and error. If you'd rather hand the whole job over, take a look at our product photography pricing or get in touch via our contact page with your shot list for a tailored quote.